|
| Amy's Teutons at the top, Ze Germans at the bottom. |
Grudge match & a half now. The Teutonic Grandmaster AMY has been giving me the verbals, 'I'm the best...blah blah blah', the gauntlet has been thrown down. So Holy Roman Emperor MrF, has accepted. The Teutons versus Ze Germans in a Medieval Monster Mash. Knights galore, this one will be a tough scrap....
 |
| The Teuton Light Horse advance |
 |
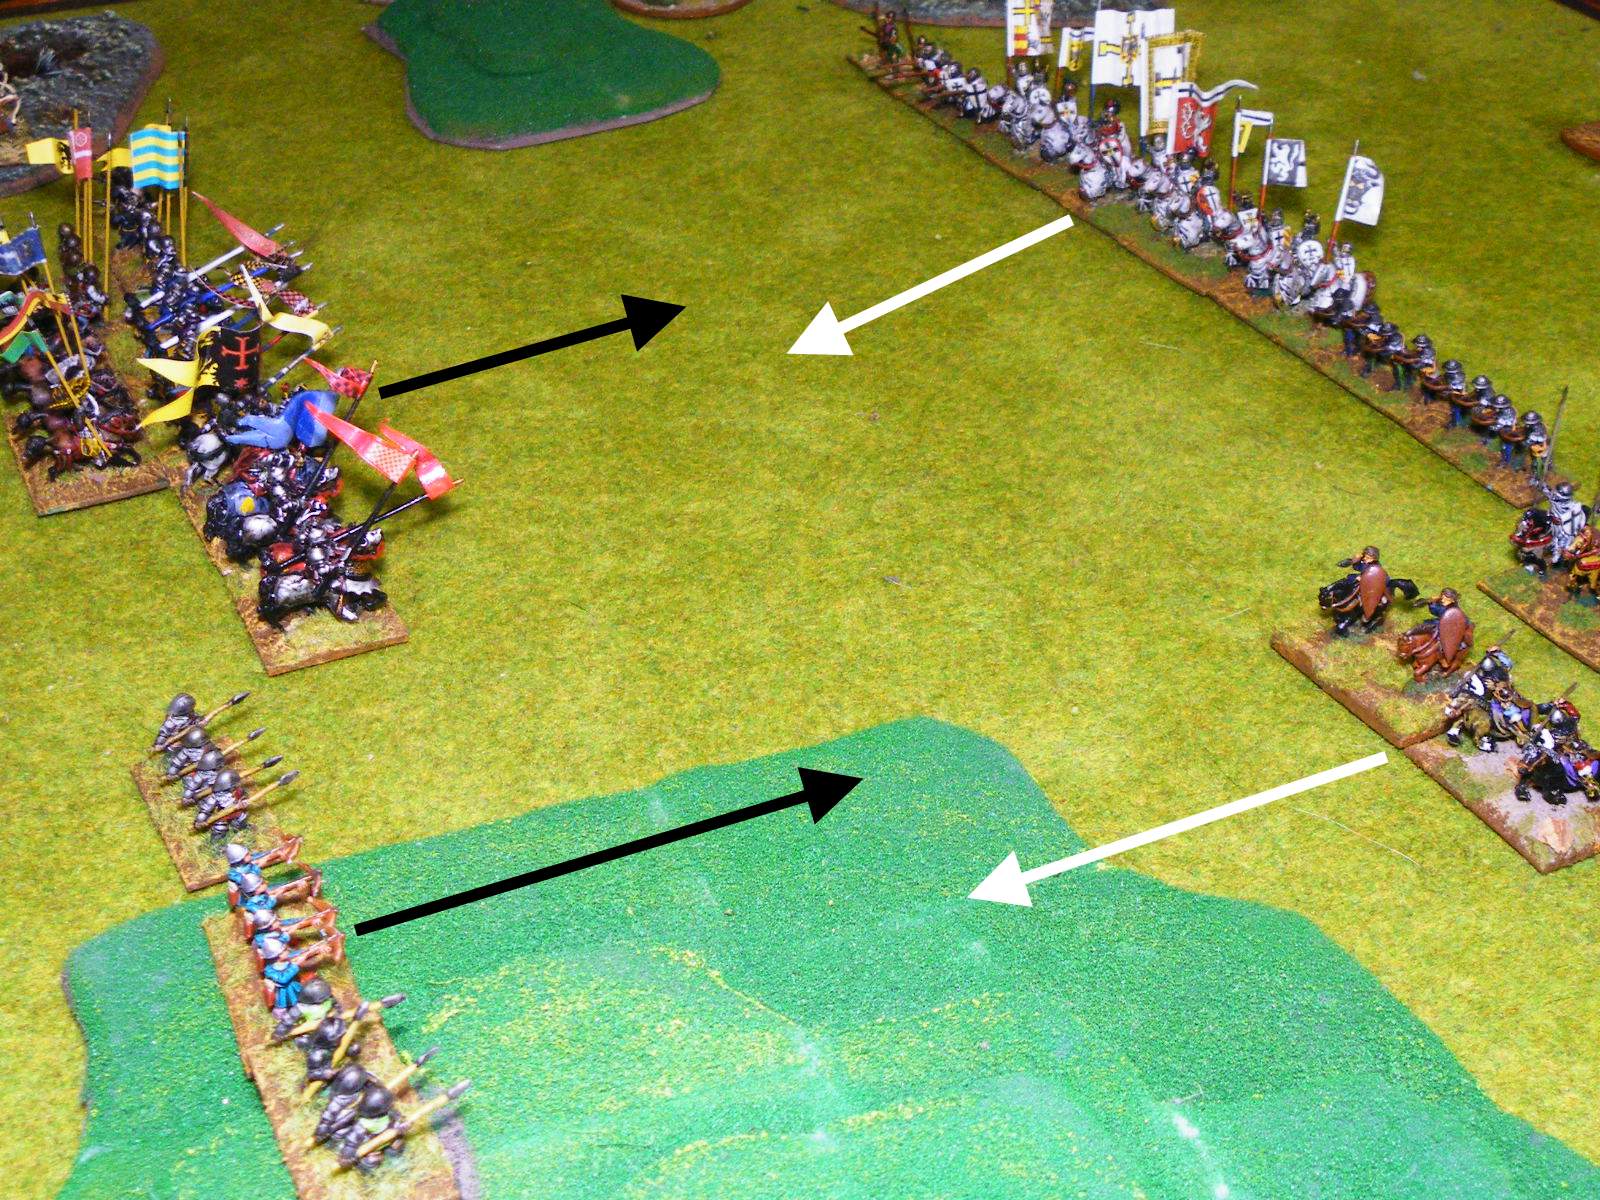
| A steady advance for both of us... |
 |
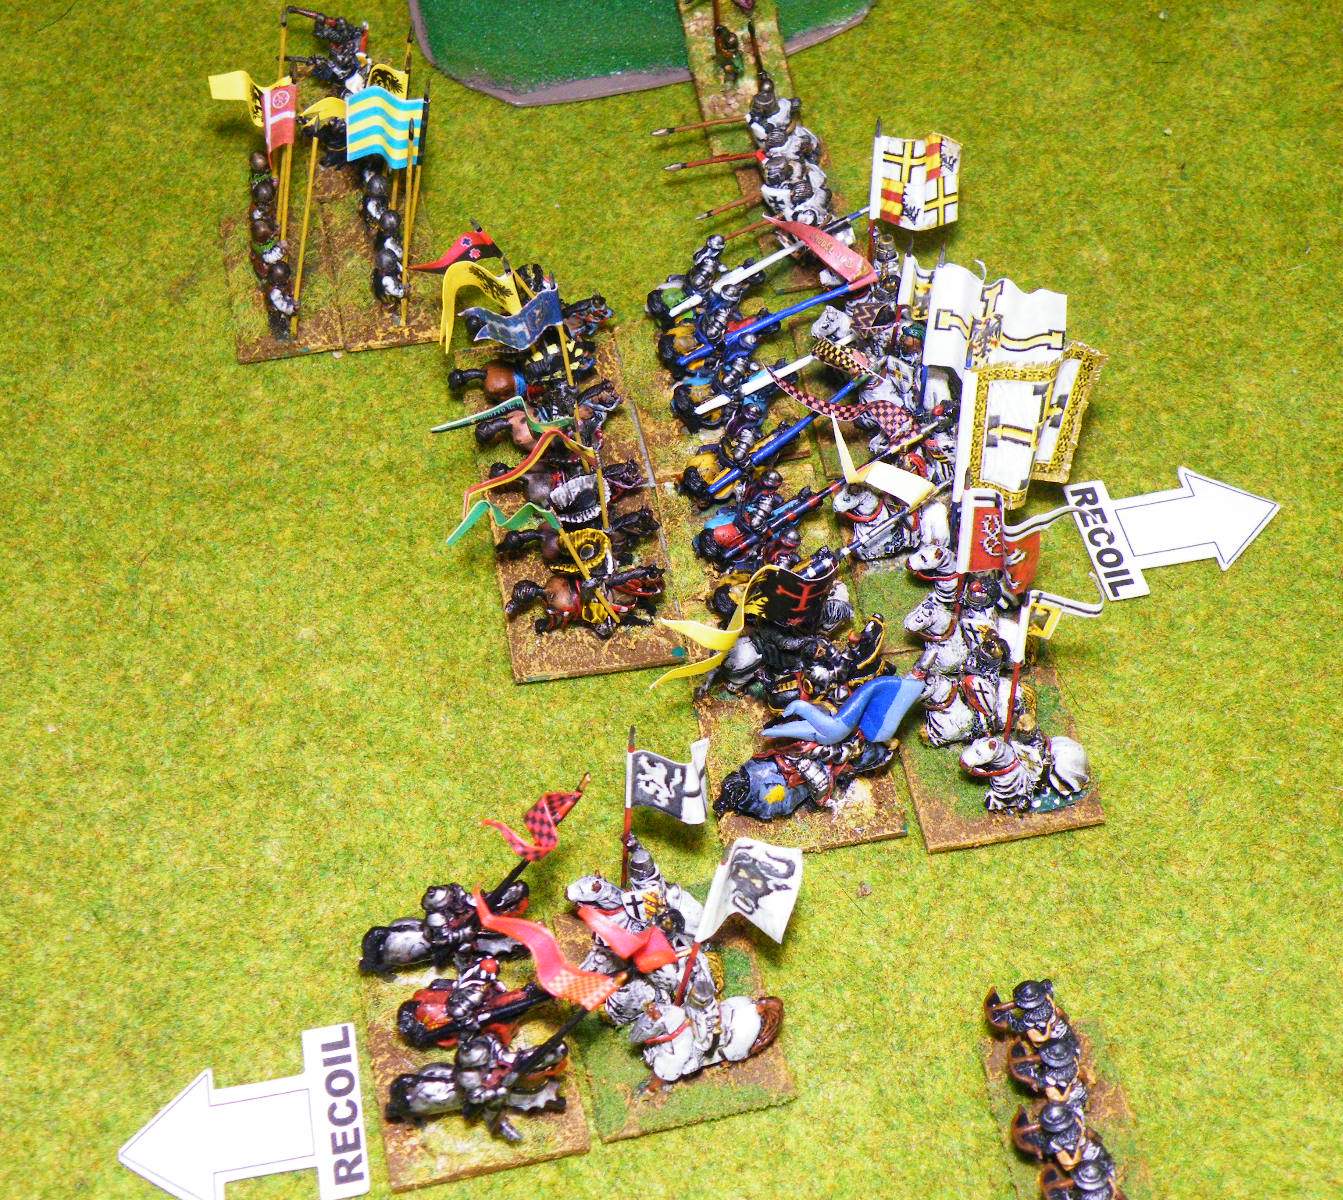
| Knight vs Knight clash coming up... |
 |
| Crash Bang Wallop.... |
 |
| Recoils all round... |
 |
| Amy avoids the Bows & goes for the Spears |
 |
| Amy launches the Teuton Light Horse across the field, a slight advantage.. |
 |
| It would be a tough scrap.... |
 |
| Back & forth for the Knight combats... |
 |
| The German General pushes through the centre... |
 |
| However it could prove to be a disadvantage. |
 |
| The Teuton Cavalry dash around the flank... |
 |
| AArrgghh... Amy pulls a sneaky one... Could she make it count? |
 |
| In your face Teuton!! The German General wins through.. |
 |
| CRUNCH!! In go ze German Pike & Blades.... |
 |
| The lines are all over... |
 |
| Get In!!! Disaster for the Teutons..... Strike two elements in one round. |
 |
| Amy pulls one back.... |
 |
| ...plus the Teuton Light Horse back just in case! |
 |
| VICTORY!!! |
Who's the Daddy??? Victory for the Germans!
I demand that the Teuton Grandmaster begs forgiveness... I get a die thrown at me for my troubles!!
Ahhh well, the youth of today!