Jack was the Ayyubids, Amy & I would take a Crusader army each.
Double sized armies & a different set up. The Crusaders are defending the
right side of the table. Elements were set up in 'garrisons', the two
bridges, the village & the rough. These units were not allowed to move
unless a 'friendly' reinforcement comes within 300 paces.
The Ayyubids would attack from the left hand side. Destroying
the garrisons & crossing the river to defeat the Crusader reinforcements.
IV/20 Ayyubid Egyption (x2)
1x3Cv(Gen), 5x3Cv, 2x2Lh, 1x3Ax or 3Wb or 7Hd, 2x4Bx or 2Ps, 1x2Lh or 2Ps
We used both the Early Crusader & Late Crusader Lists.
The Early types being the bulk of the garrisons & reinforcements from the north.
The Late list (Amy's Holy Order) forming the main Crusader Army.
IV/7 Early Crusader
1x3Kn(Gen), 3x3Kn, 5x4Sp, 1x2Ps, 1x5Wb.
IV/17 Late Crusader
1x3Kn(Gen) 2x3Kn, 1x3Kn,5x4Sp, 2x3Cb, 1x3Bw
Initial set-up, Jacks Ayyubids on the table, another army
in the North just off table.

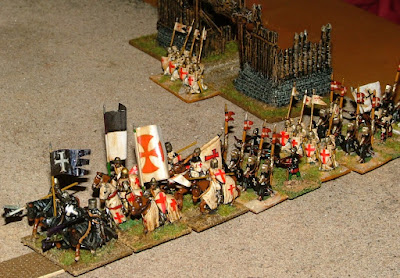
Amy's Crusaders, Hospitallers & Templars march out
to meet the Saracens. We painted these ourselves, flags from Warflag.

Jacks Ayyubids advance towards the river

Good Pips for Amy & she 'out smarts' Jack.
Her troops advance rapidly along the road while Jacks stutter.

Jacks Light Horse clash with Crusaders in the North.


At last he's across the river.

View from the North looking South. Jack Salah Al Din sweeps down from the Hill

Crusader Spears march into battle, flanks guarded by Knights

General Amy arranges her defence.

Jacks view looking across the table.

Close up of the Ayyubid Cavalry

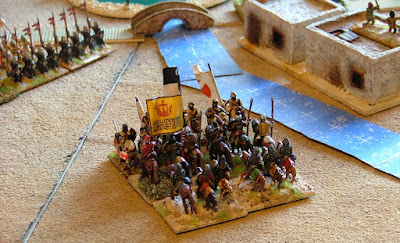
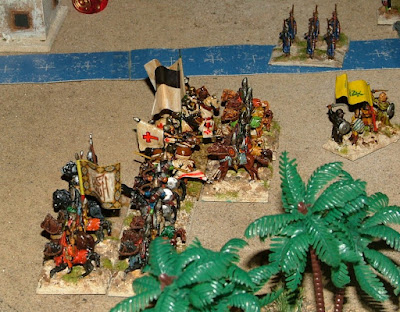
Ayyubids crossing the river, Amy sends her Templars out to meet them.

She doesn't mess around & charges straight in.

Poor Pips & Jacks attack slows, my spears pose a threat.

He's all over the place, the attack is stalling badly.

Amy's Hospitallers charge across the bridge & prepare
to smash the Ayyubid Bows.

Amy has the smug look now & her Templars are looking good.

Jack rallies, one more attack!

Chhaaaaaarrge!! Hospitallers up close.

Nice view of the battle

Jack gets a break & his Pips get better. Will it be enough?

GrandMaster of Templars.
Come on if you think you're Hard enough!!

Jack stabilises his flanks.

Mega clash of Knight & Saracen

But crafty Amy has her main line ready....

Spears at the ready.

The Ayyubids are losing the battle

Saracen Cavalry in one last Charge

My Spears take down Jacks Cavalry

Jacks shaking his head, the end is near.

Final positions, the Crusaders hold the Borders.

Great Battle, we all loved this one. I don't think Amy's Crusaders
lost a combat. Jack should of used the Roads to get his Army further
into crusader territory. He pat's his head uttering a loud D'OH!!
---------------------
Oh & so much for me tipping the PATRIOT's!!! D'OH!

No comments:
Post a Comment